
Garage Door Maintenance Checklist: Monthly, Twice a Year, and Yearly
Once a month: watch and listen to a full cycle, test the auto-reverse with a 2x4, and check the photo eyes. Twice a year: lubricate, test the balance, and look over the seals, cables, and rollers. Once a year: book a professional tune-up. The whole monthly check takes five minutes.
- Works for:
- Any sectional door with an opener. The manufacturers and the door industry body all put the reversal test on a monthly schedule, and it's the one item not to skip.
Written by the ClearTech Garage Doors team in Winnipeg and checked against manufacturer documentation. Updated .
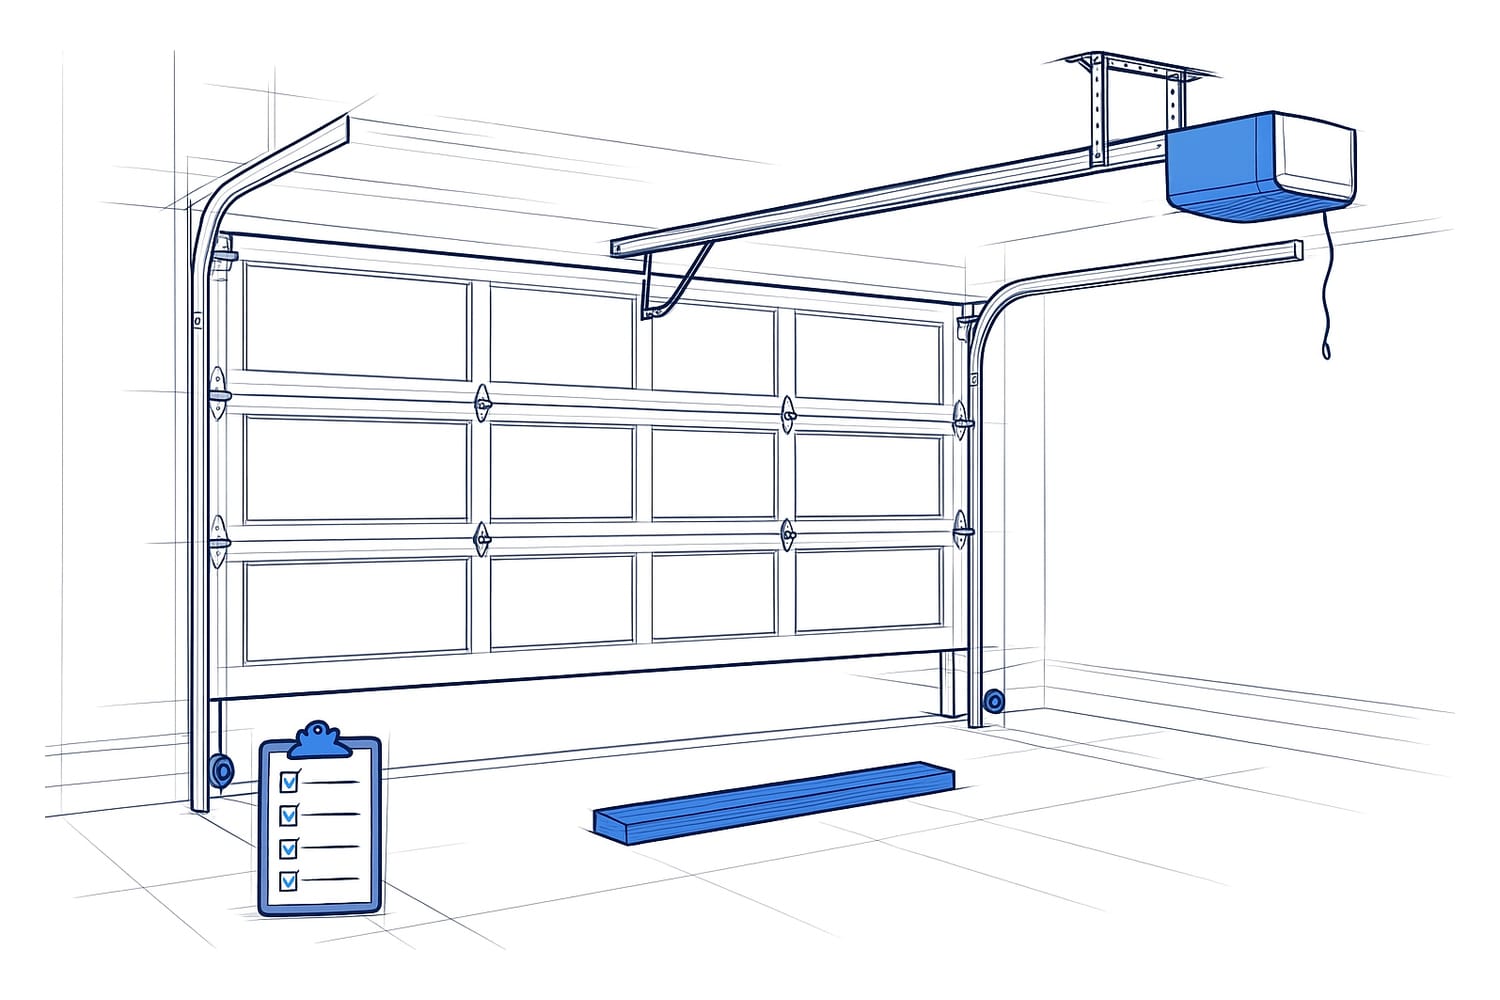
Before you start
- A 2x4 offcut, at least 15 cm long
- The lubricant from the lubrication guide for the twice-yearly items
- A socket set for the twice-yearly hardware check
Step by step
Step 1: Monthly: run the door through a full open and close from the wall button and watch it. It should move smoothly, without jerking, scraping, or lagging on one side, and stop fully open and fully closed. New noises are a sign something has moved; the noisy door guide decodes them.
Step 2: Monthly: test the contact reversal. With the door fully open, lay the 2x4 flat on the floor in the middle of the opening, then close the door from the remote. The door must reverse when it touches the board and return to fully open. If it stops on the board without reversing, or pushes on it, the manufacturers say to adjust the down force or travel per the manual and retest. If that doesn't fix it, stop using the opener and call us. Genie adds that the door should reverse within two seconds.
Use a board, not a paper towel roll or a hand. The industry test is a solid 1.5-inch object, and a door that passes a soft test can still fail to reverse on something that matters.
Step 3: Monthly: test the photo eyes. With the door open, start it closing and wave a broom handle through the beam near the floor. The door should stop and reverse at once. Then stand something in the beam and press the remote: the door should refuse to close and the opener light should flash. The sensors should sit no more than 15 cm (6 inches) above the floor, facing each other, with their indicator lights steady. The opener guides cover LiftMaster, Genie, and SkyLink sensor fixes.
Step 4: Monthly, if the opener has battery backup: glance at the battery light on the motor unit. Solid green is charged, flashing green is charging, and orange means it's on battery or low. LiftMaster asks for a yearly battery test on top of that: unplug the opener and run the door once.
Step 5: Twice a year: lubricate the hinges, rollers, springs, and bearing plates, and wipe out the tracks. Full steps in the lubrication guide.
Step 6: Twice a year: test the balance. With the door closed, pull the red release cord, lift the door to about halfway, roughly 3 to 4 feet, and let go. It should stay put. If it drops or rises, the springs need adjusting, and the opener has been covering for it. The balance test guide has the full procedure and what the results mean. Reconnect the opener afterward.
Step 7: Twice a year: look, don't touch. Springs: any gap in the coil, rust, or a spring that looks stretched. Cables: broken strands or fraying, especially near the bottom brackets, and both cables sitting in their drum grooves with the door closed. Rollers: cracks, chips, flat spots, or a roller that slides rather than turns. Hinges: cracks at the knuckle. Track: bends, and bolts that have backed out.
Anything wrong with a spring or cable is a call, not a job. Both are under tension that can take a hand off.
Step 8: Twice a year: snug the bolts on the hinges, roller brackets, and track brackets with a socket wrench. Don't overtighten, and leave every bolt on the springs, drums, bearing plates, and bottom brackets alone.
Step 9: Twice a year: check the seals. Press on the bottom seal to see it's still flexible, look along the sides and top for daylight with the door closed, and clear the threshold of grit before winter. The weatherstripping guide and bottom seal guide cover replacement.
Step 10: Once a year: book a tune-up. We do everything above plus the things that need tools and training: spring balance adjustment, cable inspection under load, opener force settings, and a written note of what to watch for next year. Fall is the best time, before the first deep cold.
Need this fixed?
Annual Tune-Up
Annual garage door tune up in Winnipeg: a yearly check-up that catches small issues before they fail. Lubrication, hardware tightening, balance check, auto-reverse test, manual release verification, about an hour on site.
More about Annual Tune-UpStill stuck? Here is what it usually is.
- The door fails the reversal test or the photo eye test. That's a safety fault, not a maintenance item, and the door shouldn't be used until it's fixed. Opener repair.
- The balance test fails. Spring repair, and sooner rather than later, because the opener is lifting the door's full weight.
- You see a frayed cable, a gap in a spring, or a cable off its drum. Stop using the door and book cable and roller repair or spring repair.
- It's been more than a couple of years since anyone looked at the door. A tune-up usually finds a few small things that are cheaper now than in January.
We look at the whole door, not just the part that failed, and tell you plainly what it needs.
Common Questions
How much of this can I really do myself?
- The monthly checks, the lubrication, the balance test, the seals, and snugging hinge and bracket bolts are all homeowner jobs. Spring adjustment and anything involving the cables or bottom brackets are ours, and we'd rather set the opener's force settings too, though the manuals do let you adjust them. That split is close to the one the manufacturers draw.
My opener is from the 1990s. Does the checklist still apply?
- Yes, with one addition. Openers made after 1992 are required to have force-sensing reversal plus a second form of entrapment protection, almost always photo eyes. If yours has no photo eyes, or only reverses on contact, it's missing the protection every current opener has, and we'd put replacement on the list.
What if the door is frozen to the floor?
- Don't run the opener. Free it first using the frozen door guide, then carry on with the checks. A door that has frozen down more than once needs its bottom seal looked at.
Sources
This guide was checked against the following manufacturer and industry documents.
Related guides
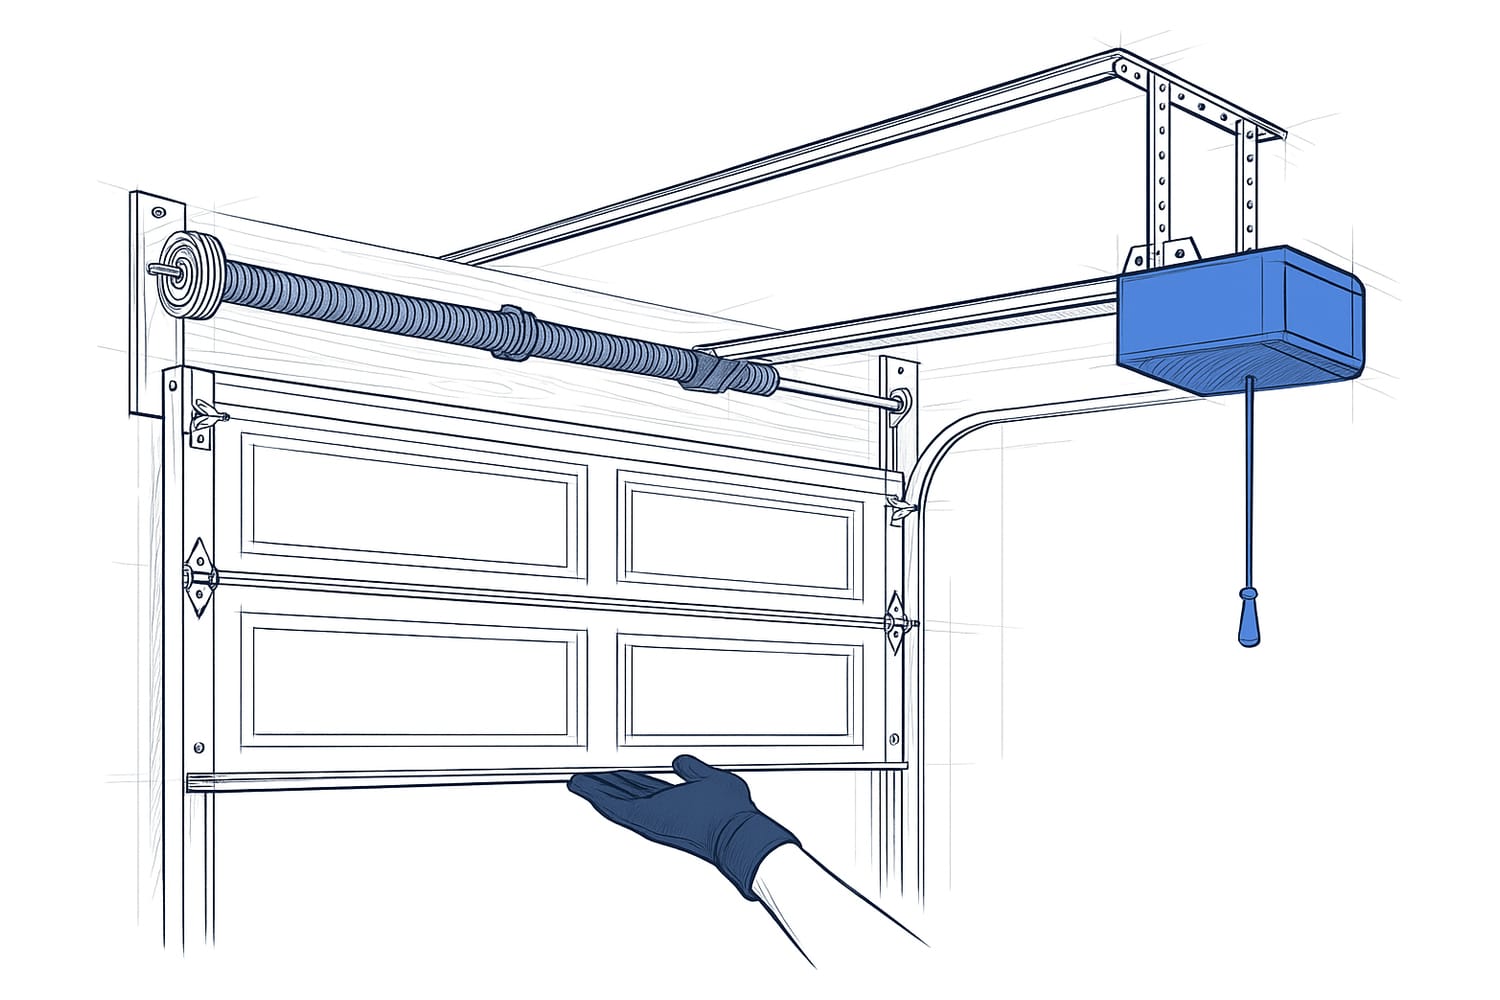 How to Test Your Garage Door's BalanceClose the door, pull the red release cord, lift the door by hand to about waist height, and let go. A balanced door stays put or drifts slowly. A door that drops or shoots up has a spring problem, and the opener has been covering for it.Read the guide
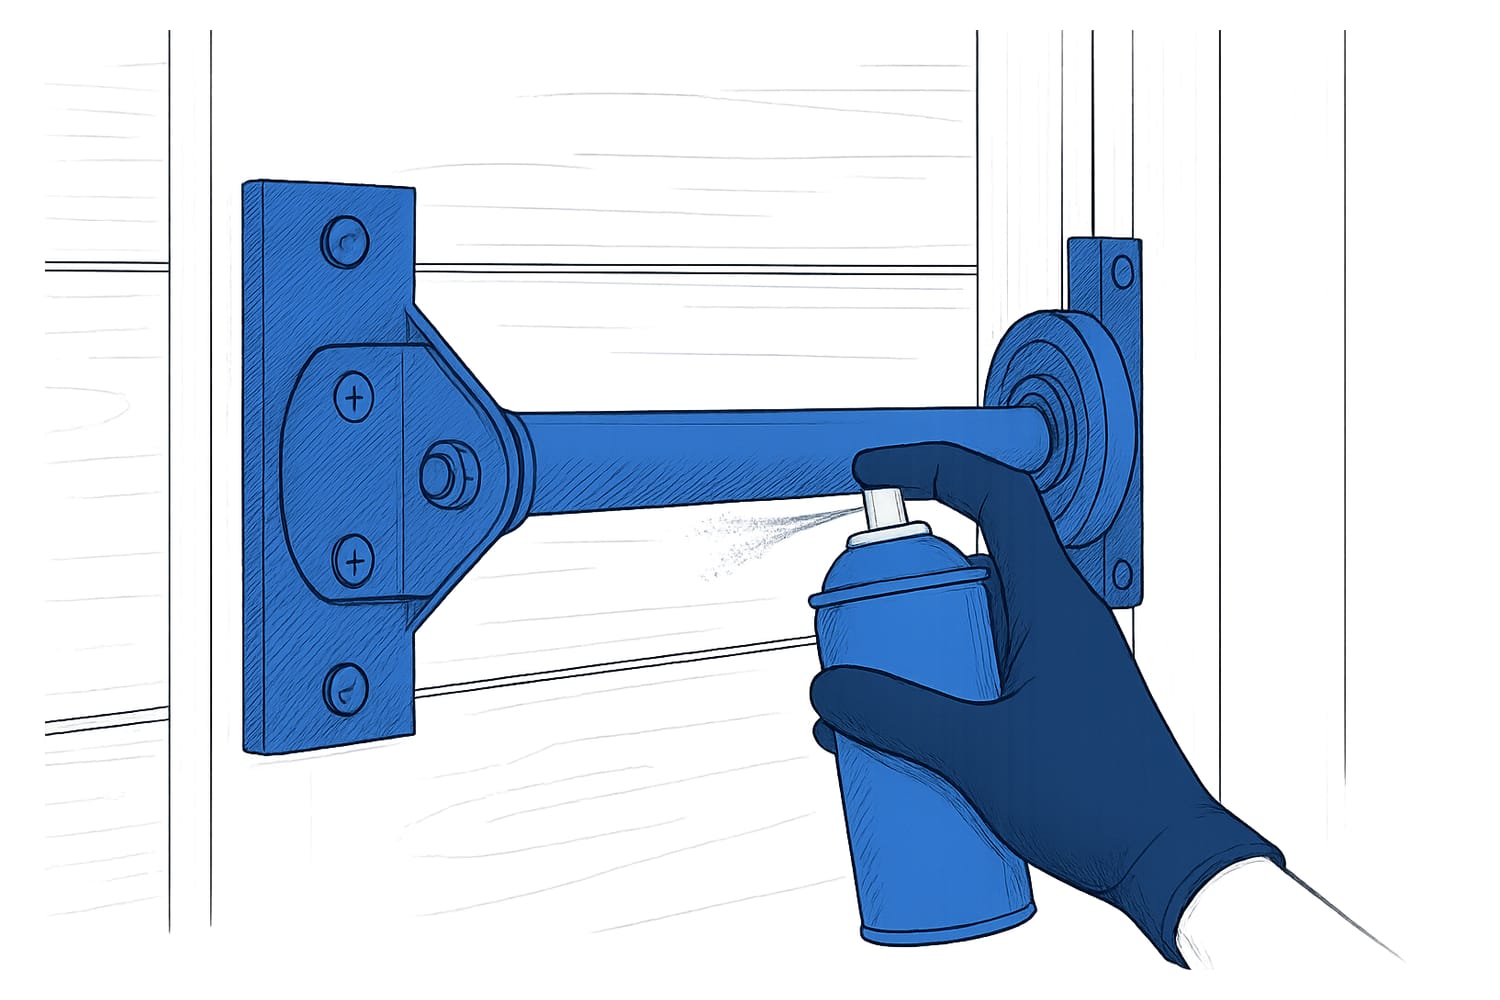 How to Lubricate a Garage Door (and What Not to Spray)Use a silicone spray or white lithium grease on the hinges, the bearings of steel rollers, the torsion spring coils, the bearing plates at each end of the spring shaft, and the lock. Keep it off the tracks and off nylon rollers. Twice a year is plenty for most homes.Read the guide
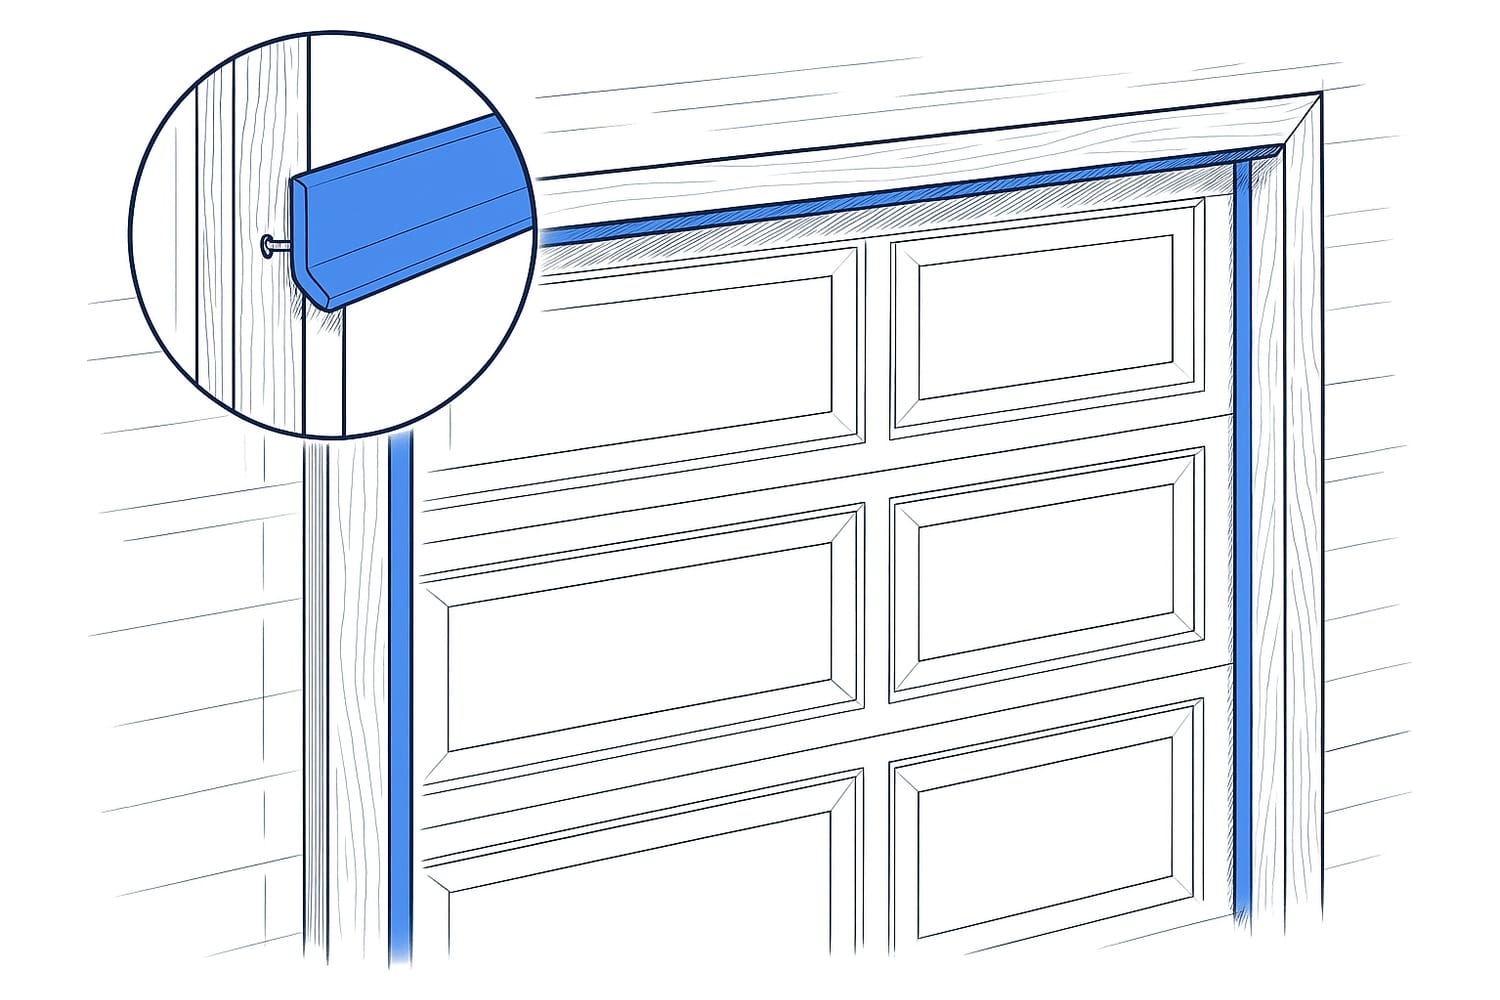 How to Replace Garage Door Weatherstripping (Sides and Top)Pry off the old stop moulding, cut new vinyl stop with a rubber flap to length, nail the top piece first and the sides last, and set the flap so it just touches the face of the closed door. It stops drafts, light, and blown snow at the edges of the door.Read the guide
Ready to Book?
Same-day service across Winnipeg and nearby communities. Free on-site diagnosis on every residential repair.